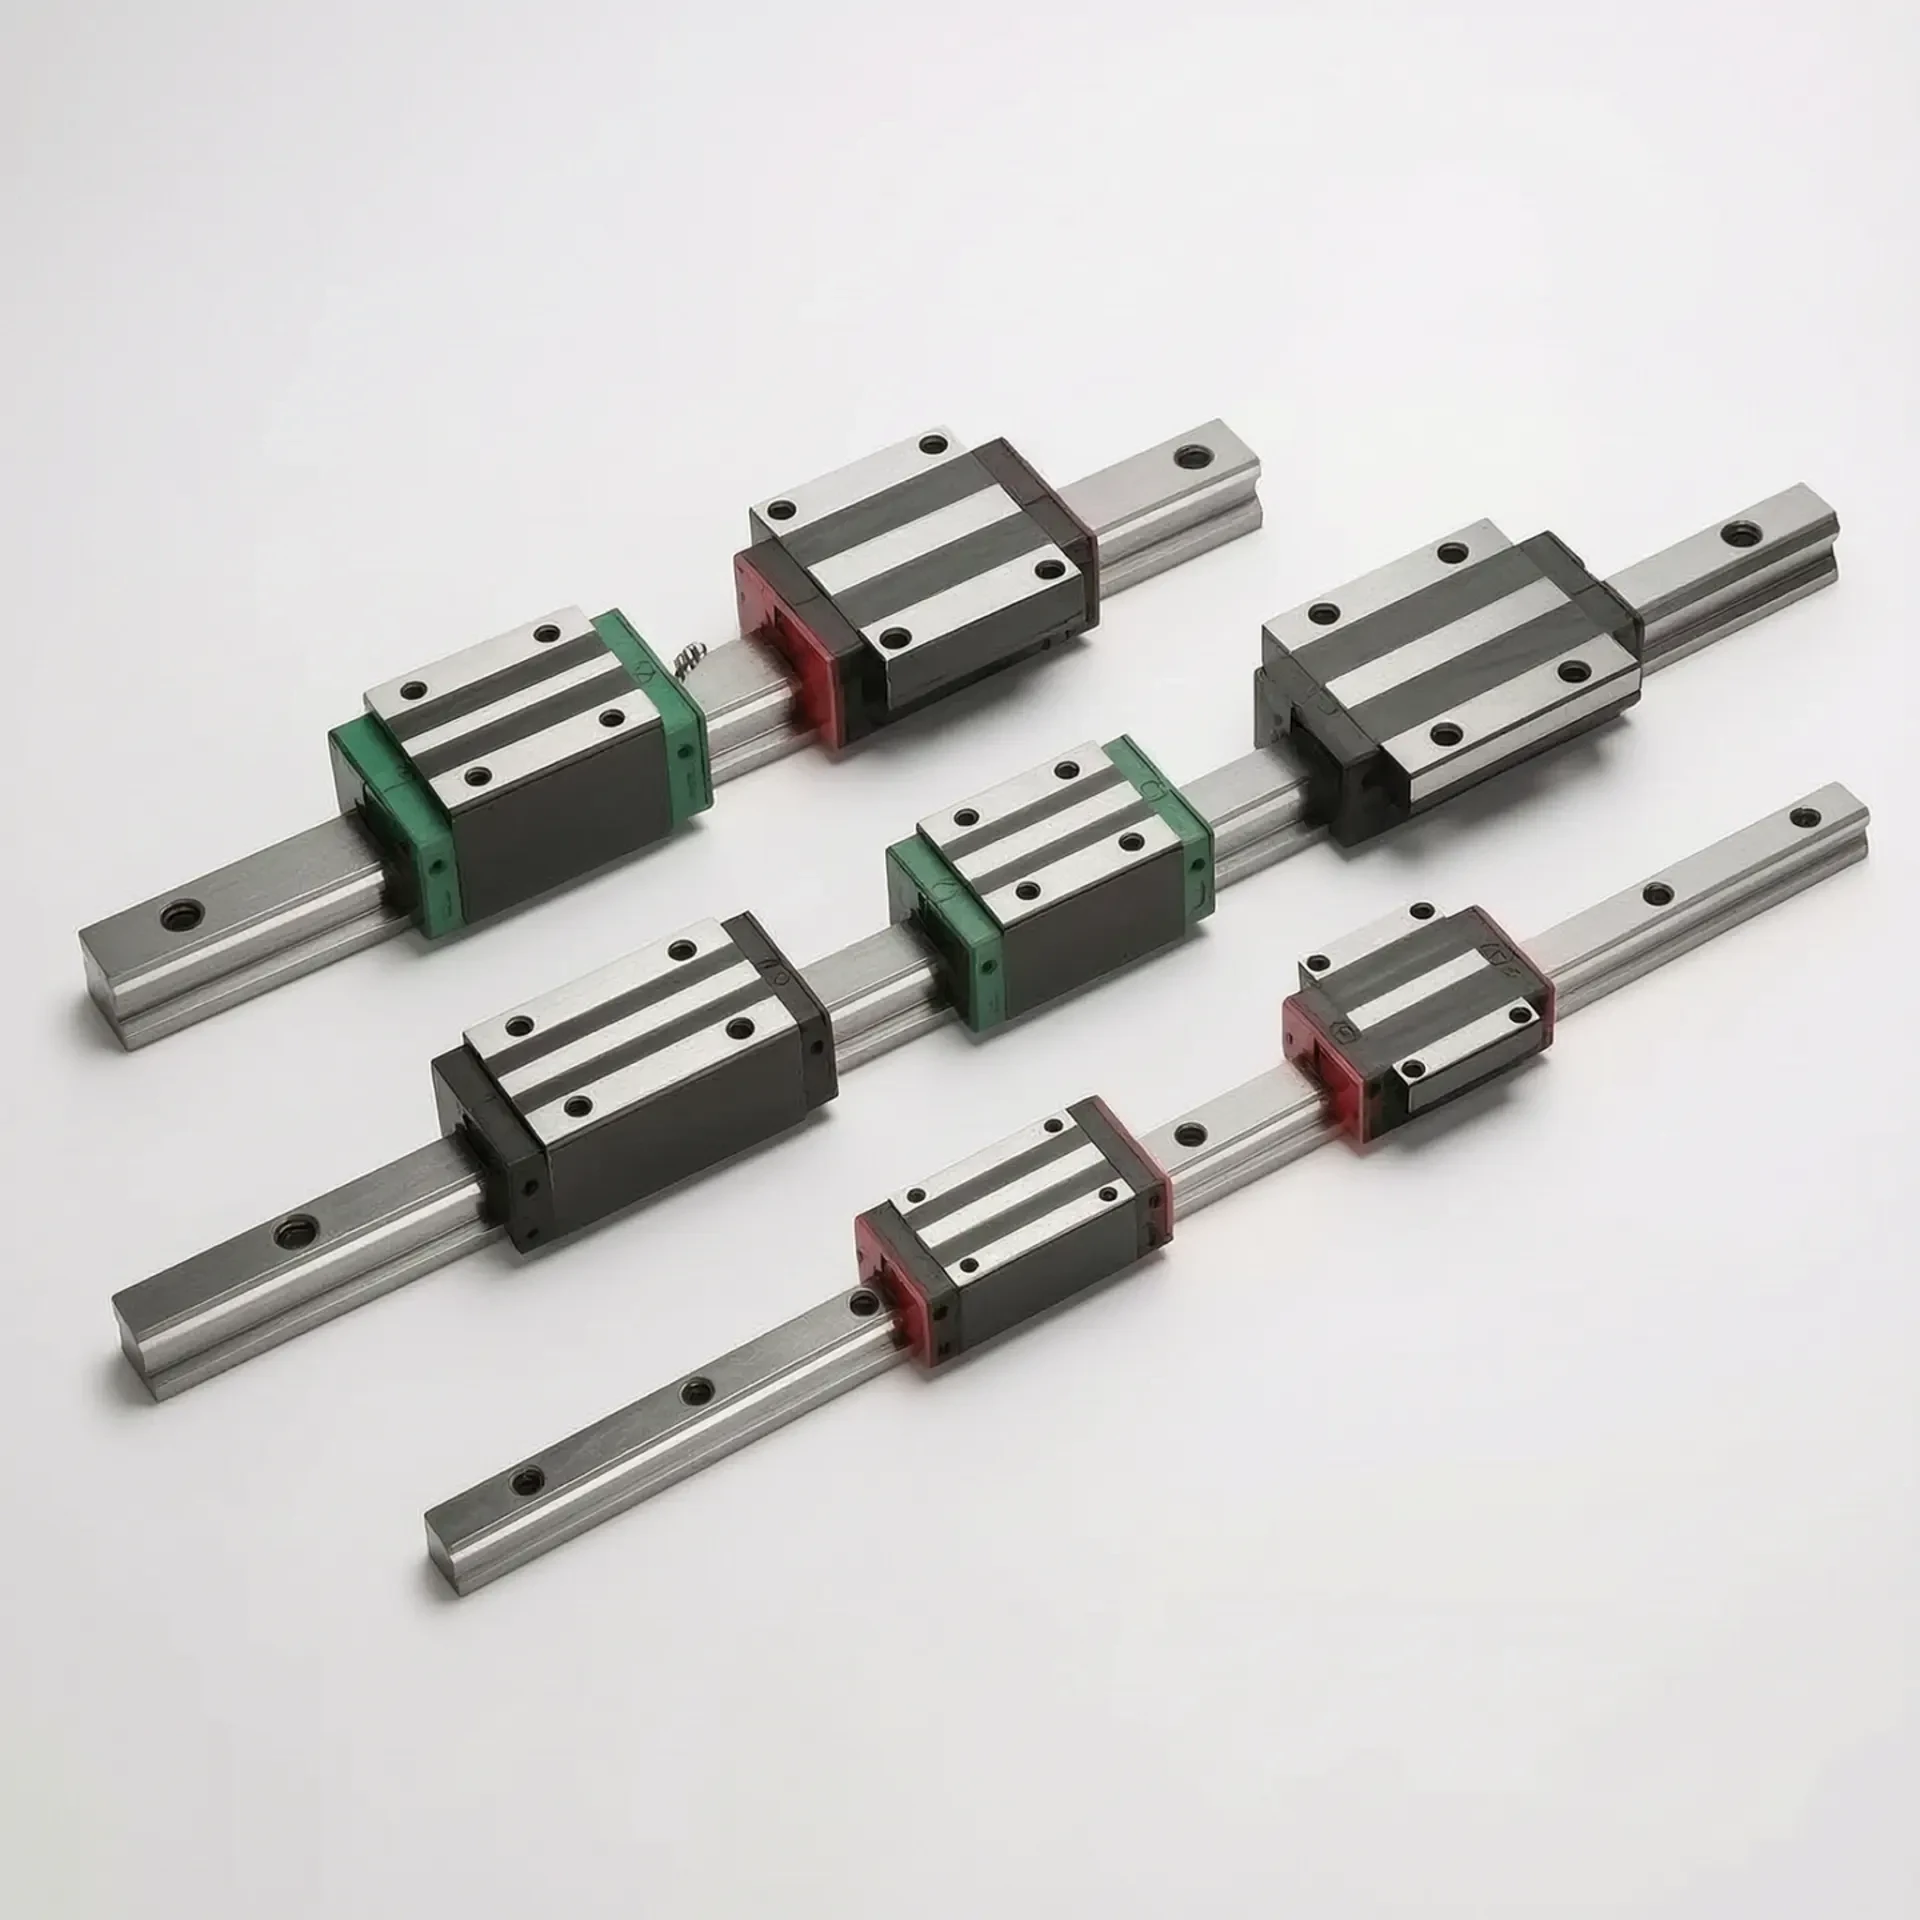
A profile linear guide leaves the factory straighter than almost any surface it will be bolted to. The mounting surface therefore defines the final accuracy of the axis — which is why most premature guide failures trace back to installation, not manufacturing.
Prepare the mounting surface
Machine a datum (reference) edge for the rail to register against, and verify the mounting surface flatness. Burrs, chips and paint under the rail are invisible after assembly but distort the raceway the moment bolts are tightened. Degrease all surfaces before positioning the rail.
Seat, then torque — in sequence
Press the rail lightly against the datum edge and snug the bolts from the center of the rail outward. Then apply final torque in the same center-out sequence, using the bolt grade and torque specified for the rail size. Tightening from one end traps straightness errors in the rail.
- Register rail against the machined datum edge
- Snug bolts center → outward
- Final torque in the same sequence
- Run the block end-to-end and check for binding before mounting the table
Parallel rails need a measured second axis
Where two rails run in parallel, fix the master rail first, then set the slave rail with a dial indicator or gauge block while cycling the carriage. Do not simply bolt both rails to their datums and hope the frame is square — measure the parallelism directly.
YZXQ supplies HGR rails cut to length with chamfered ends, and our team can advise on datum design and bolt selection for your machine — include your rail size and stroke in the inquiry.
Send Your Model List — Get a Factory Quote from Our Factory Team
Share your models, quantities and destination port. Our export team replies with pricing, lead time and freight options.